What is Scaffolding and How Do I Start Scaffolding History Projects for My Students?
You may be wondering what scaffolding is and why it’s important. I’ll explain everything you need to know about scaffolding so you can start helping students today! When teaching a lesson or unit, scaffolding is an essential skill that helps students understand concepts more deeply. In this article, we’ll share three tips on scaffolding history projects.
Scaffolding is a technique that helps students learn how to solve problems by breaking down complex tasks into smaller steps. It’s an effective way to teach problem solving skills to students in elementary school through high school. I use scaffolding in my classroom so that I can better support my special education students and English Language Learners.
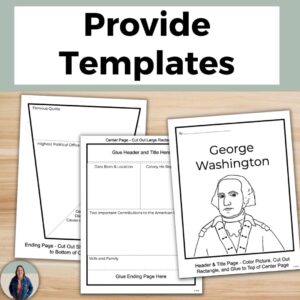
With scaffolding, teachers provide additional support to students as they learn or practice new material. It helps students build understanding by providing additional information at different levels of complexity.
There are two main ways to use scaffolding in classrooms: as a teaching strategy and as a learning strategy. As a teaching strategy, teachers can use scaffolding to help students understand concepts more deeply. This approach works well when students are struggling with a concept because it allows them to see the big picture before tackling the details.
As a learning strategy, teachers can use it to help students build knowledge and understanding. Students who struggle with a concept can practice using scaffolding to break it down into smaller pieces. They can then work through each piece individually until they’ve mastered the whole thing.
Are you teaching World History? Grab your free planning guide for World History here!
3 Tips for Scaffolding History Projects in Your Classroom
Students often struggle when they have to work on their own projects. These 3 tips for scaffolding history projects will help your students to be more independent and provide them with more support.
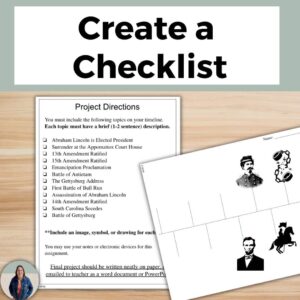
- Create a Checklist
- Break Apart Your Timeline
- You probably have an end date in mind for when students will finish their history projects. Now take that date and break it into smaller dates for different pieces of the project.
- For example, maybe the final project is due is one week. Using the checklist you made for students, assign each task (or a small chunk of tasks) a due date. Perhaps their research needs to be done in two days. Then they have one day to draw their visuals for the project. Then students have one day to put their information on their poster.
- By breaking the project apart from one large due date to multiple smaller due dates, it’s easier for students to practice time management skills and make sure they don’t get too far behind on their project.
- Provide Visuals
- Provide visual examples of past projects that were successful. This helps create concrete visualizations for students and helps them to understand your expectations.
- You can also provide visuals in your checklist, directions, or rubric! Many students learn best through visuals, so incorporating them in your instructions helps all students!
Bonus Tip – create a rubric and give it to students before they start the project! Students need to know how they will be graded and what your expectations are for their project. Don’t wait until the end to share your grading rubric with students! Transparency helps everyone and will result in higher quality projects.
Examples of Scaffolding History Projects
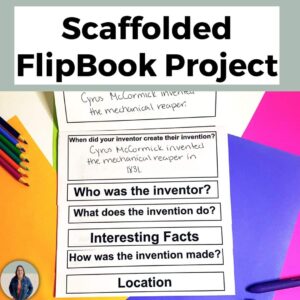
Here are two examples of scaffolding history projects that I’ve used in my classroom. The first was a flipbook project on famous inventors and inventions. Each page gave specific instructions for what to put in each section. You can watch a short video clip of it here.
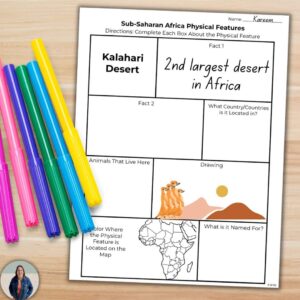
The second was research on a physical feature of Sub-Saharan Africa. I broke the project into small tasks by creating boxes on the page for students to complete one at a time.
Want to Learn More About the Benefits of Project-Based Learning?
If so, read this blog post where I discuss benefits for students and teachers!
If you haven’t grabbed my FREE Jeopardy Review Game for Social Studies Classes, you can get it below!





3 Responses